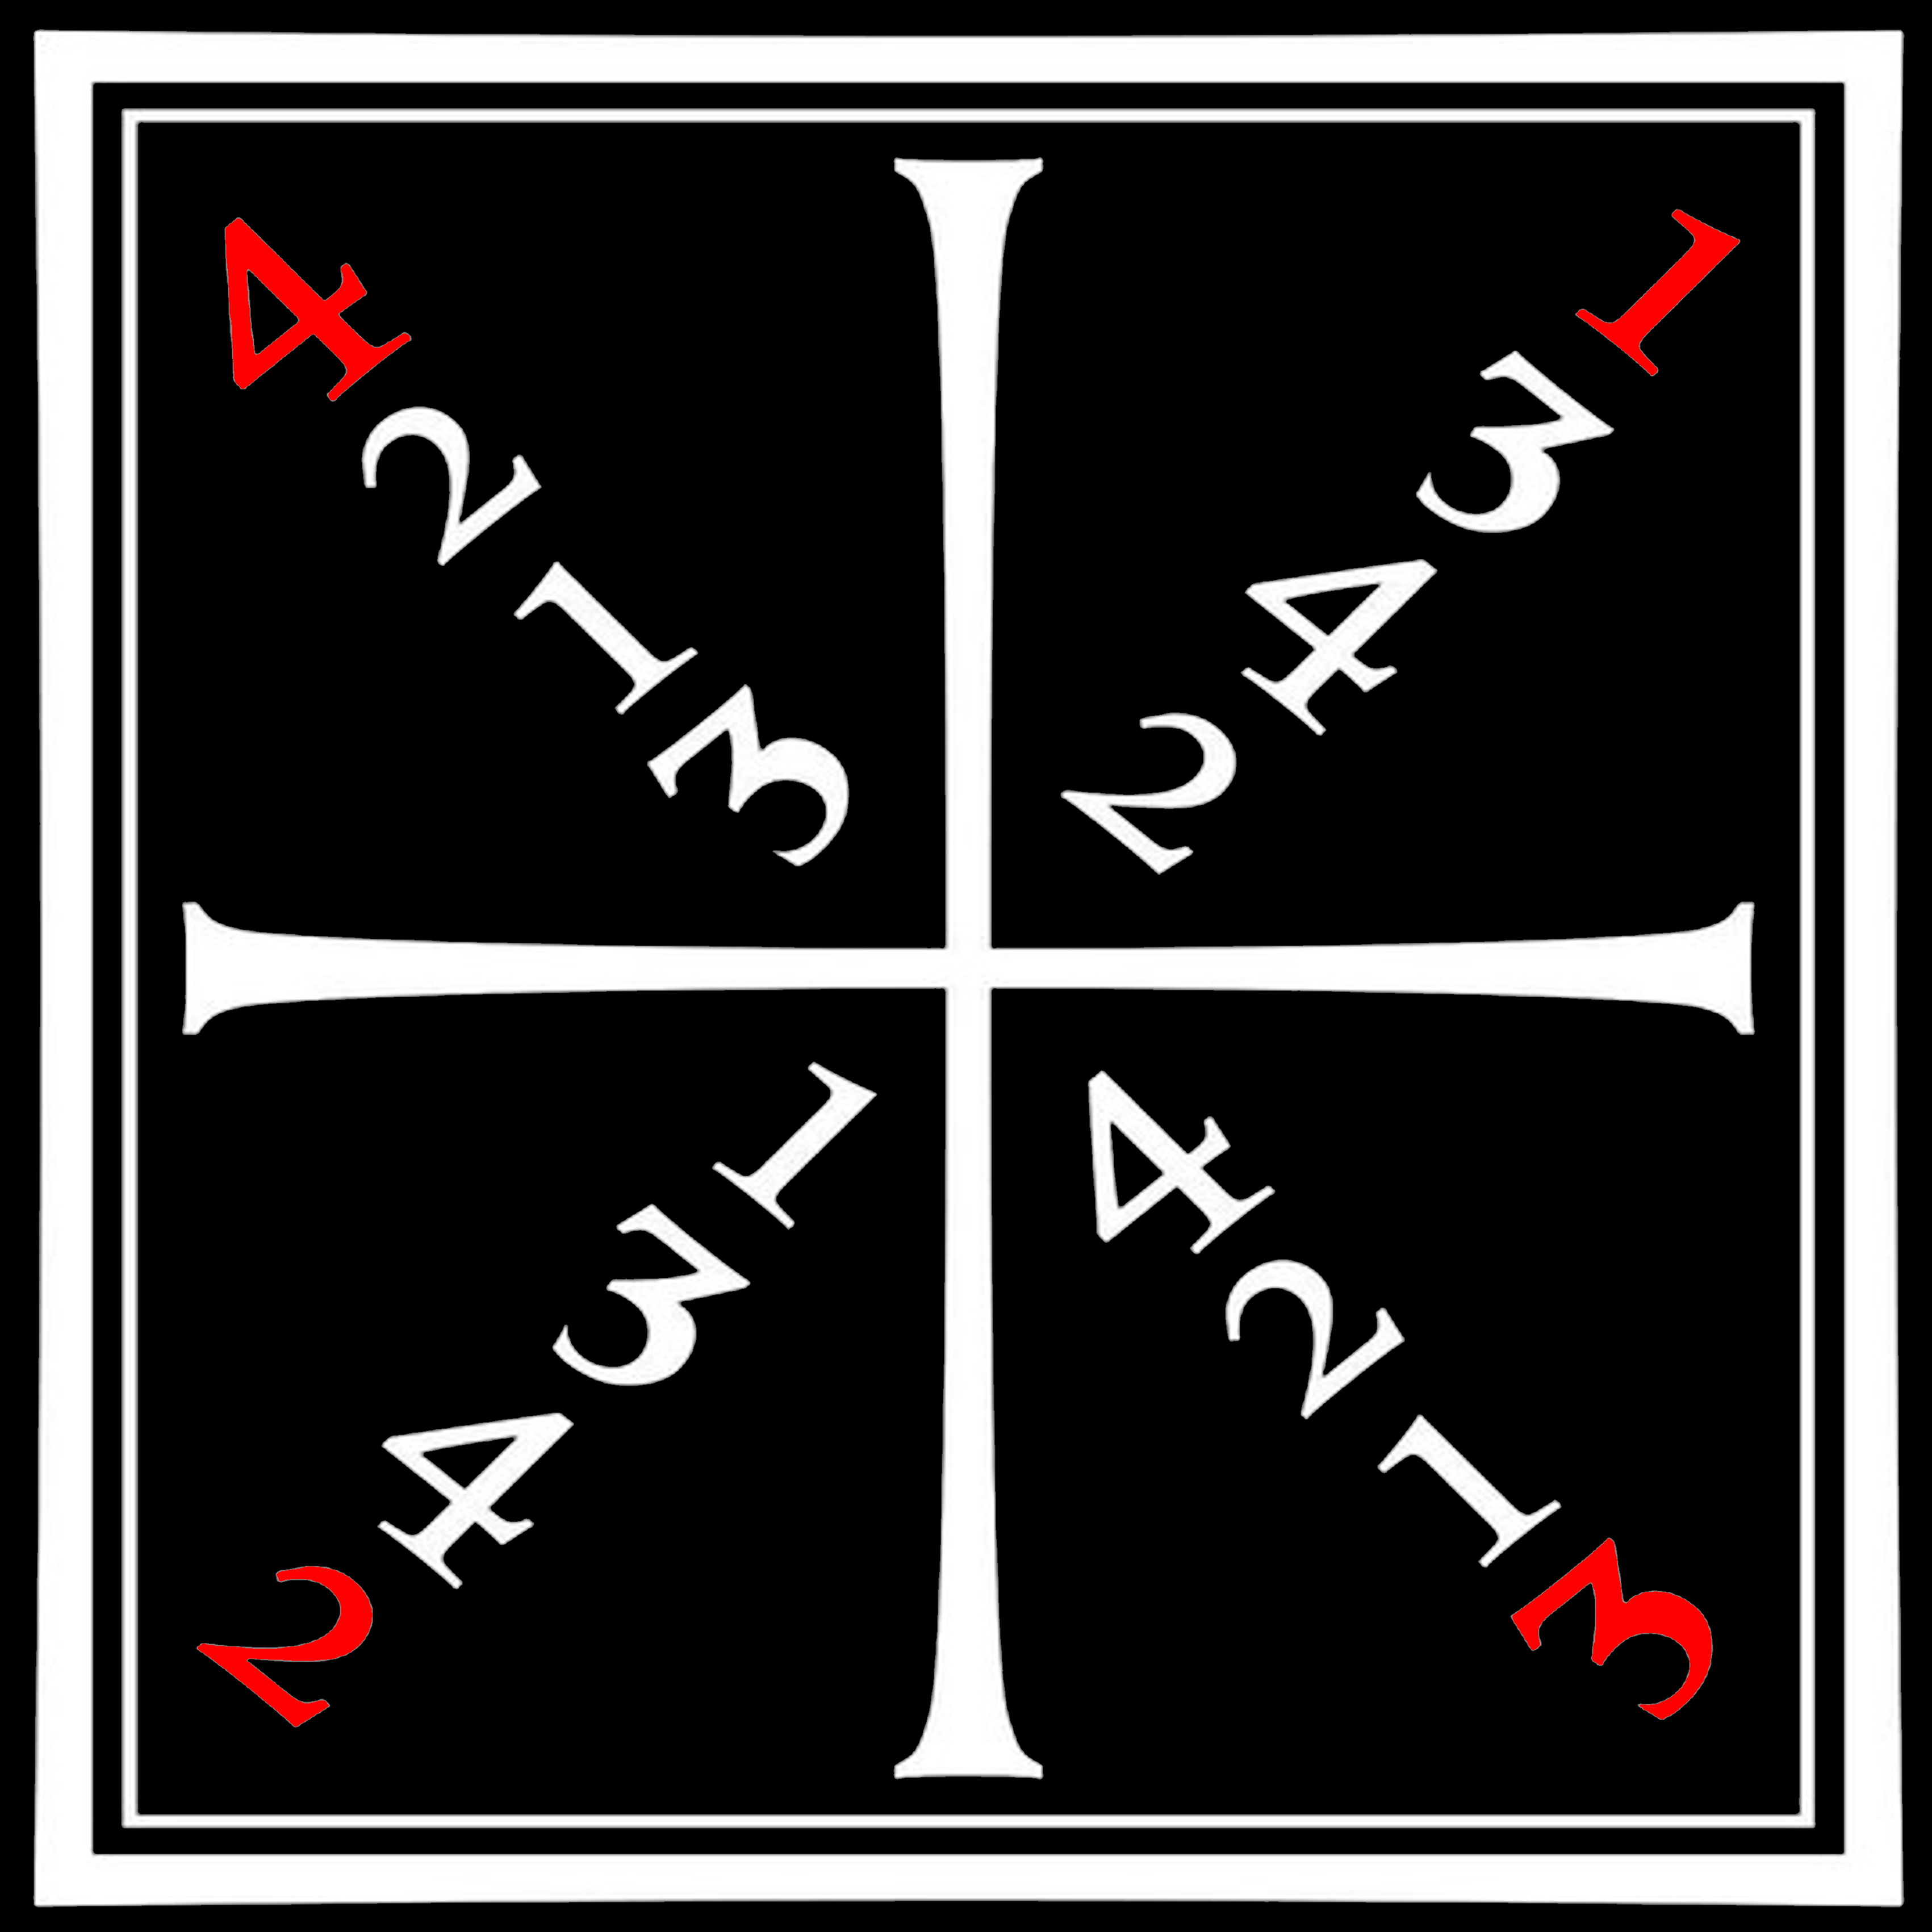
Lehrling I
From Scholar Victoria
(Difference between revisions)
| Line 11: | Line 11: | ||
* [[Posture#Front Weighted|Front weighted]] | * [[Posture#Front Weighted|Front weighted]] | ||
* [[Posture#Rear Weighted|Rear weighted]] | * [[Posture#Rear Weighted|Rear weighted]] | ||
| − | * [[Posture#Cross Stance|Cross stance]] | + | * <u>[[Posture#Cross Stance|Cross stance]] |
=== Footwork === | === Footwork === | ||
* [[Footwork#Passing Step|Passing step]] | * [[Footwork#Passing Step|Passing step]] | ||
* [[Footwork#Gathering Step %5Bnon canonical%5D|Gathering (lead/rear)]] | * [[Footwork#Gathering Step %5Bnon canonical%5D|Gathering (lead/rear)]] | ||
| − | * [[Footwork#Triangle Step|Triangle step]] | + | * <u>[[Footwork#Triangle Step|Triangle step]] |
* [[Footwork#Double Step/Double Triangle Step|Double Step]] | * [[Footwork#Double Step/Double Triangle Step|Double Step]] | ||
| − | * [[Footwork#False Step/Cross Step %5Bnon canonical%5D|False/Cross Step]] | + | * <u>[[Footwork#False Step/Cross Step %5Bnon canonical%5D|False/Cross Step]] |
* [[Footwork#Stolen/Broken Step|Stolen Step]] | * [[Footwork#Stolen/Broken Step|Stolen Step]] | ||
| Line 31: | Line 31: | ||
===== Low Side Guards ===== | ===== Low Side Guards ===== | ||
* [[Wechsel]] (change) | * [[Wechsel]] (change) | ||
| − | * [[Nebenhut]] (near guard) | + | * <u>[[Nebenhut]] (near guard)</u> |
| − | * [[Schranckhut]] (barrier guard) | + | * <u>[[Schranckhut]] (barrier guard)</u> |
===== High Side Guards ===== | ===== High Side Guards ===== | ||
* [[Zornhut]] (wrath guard) | * [[Zornhut]] (wrath guard) | ||
| − | * [[Mittelhut]] (middle guard) | + | * <u>[[Mittelhut]] (middle guard)</u> |
| − | * [[Schlussel]] | + | * <u>[[Schlussel]]</u> |
===== Centreline Guards ===== | ===== Centreline Guards ===== | ||
* [[Langort]] (long point) | * [[Langort]] (long point) | ||
| − | * [[Kron]] (crown) | + | * <u>[[Kron]] (crown)</u> |
| − | * [[Eisenport]] (iron gate) | + | * <u>[[Eisenport]] (iron gate)</u> |
===== Hanging Guards ===== | ===== Hanging Guards ===== | ||
* [[Hangetort]] (hanging point) | * [[Hangetort]] (hanging point) | ||
| − | * [[Einhorn]] (unicorn) | + | * <u>[[Einhorn]] (unicorn)</u> |
=== Strikes === | === Strikes === | ||
| Line 64: | Line 64: | ||
=====Crooked cut variations:===== | =====Crooked cut variations:===== | ||
| − | * [[Krumphauw]] (crooked strike) | + | * <u>[[Krumphauw]] (crooked strike)</u> |
| − | + | ||
| − | + | ||
| − | + | ||
=====Thwart cut variations:===== | =====Thwart cut variations:===== | ||
| − | * [[Zwerch]] (thwart) | + | * <u>[[Zwerch]] (thwart)</u> |
=====Plunging cut variations:===== | =====Plunging cut variations:===== | ||
| − | * [[Sturtzhauw]] (plunge strike) | + | * <u>[[Sturtzhauw]] (plunge strike)</u> |
| − | ===== | + | =====False edge cuts which parry:===== |
| − | * [[ | + | * <u>[[Glutzhauw]] (clashing strike)</u> |
=====Changing strike variations:===== | =====Changing strike variations:===== | ||
| − | * [[Wechselhauw]] (change strike) | + | * <u>[[Wechselhauw]] (change strike)</u> |
| + | |||
| + | =====Cuts with winding:===== | ||
| + | * <u>[[Windthauw]] (winding strike)</u> | ||
==== Cutting to the Openings ==== | ==== Cutting to the Openings ==== | ||
* [[Meyer Square|Meyer Square - row 1 & 2]] | * [[Meyer Square|Meyer Square - row 1 & 2]] | ||
| − | * [[Meyer Square|Cutting through and to the point]] | + | * <u>[[Meyer Square|Cutting through and to the point]]</u> |
===Handworks=== | ===Handworks=== | ||
| Line 89: | Line 89: | ||
Techniques need only be performed at slow speed showing form and understanding of the application of each handwork. | Techniques need only be performed at slow speed showing form and understanding of the application of each handwork. | ||
| − | * [[Hanging parry set]] | + | * <u>[[Hanging parry set]]</u> |
| − | * [[Oberhauw parry set]] | + | * <u>[[Oberhauw parry set]]</u> |
== Fencing Free-play == | == Fencing Free-play == | ||
The students shall demonstrate their ability to fence using the principles from Meyer's system in the following conditions: | The students shall demonstrate their ability to fence using the principles from Meyer's system in the following conditions: | ||
| − | * Fight a 2 minute bout at slow speed showing control and flow | + | * <u>Fight a 2 minute bout at slow speed showing control and flow</u> |
== Wrestling == | == Wrestling == | ||
| − | * [[Joint locking techniques|Arm locks 1-5 against a static opponent]] | + | * <u>[[Joint locking techniques|Arm locks 1-5 against a static opponent]]</u> |
Revision as of 04:39, 21 March 2017
Contents |
Lehrling Level 1 Syllabus
Theory
Basic Information
Longsword
Posture
Footwork
Guards/Postures
Principal Guards
Secondary Guards
Low Side Guards
- Wechsel (change)
- Nebenhut (near guard)
- Schranckhut (barrier guard)
High Side Guards
Centreline Guards
Hanging Guards
Strikes
Principal Cuts
Cuts need only be performed at slow speed showing form and technique.
Secondary Cuts
Cuts need only be performed at slow speed showing form and technique.
Crooked cut variations:
- Krumphauw (crooked strike)
Thwart cut variations:
- Zwerch (thwart)
Plunging cut variations:
- Sturtzhauw (plunge strike)
False edge cuts which parry:
- Glutzhauw (clashing strike)
Changing strike variations:
- Wechselhauw (change strike)
Cuts with winding:
- Windthauw (winding strike)
Cutting to the Openings
Handworks
Techniques need only be performed at slow speed showing form and understanding of the application of each handwork.
Fencing Free-play
The students shall demonstrate their ability to fence using the principles from Meyer's system in the following conditions:
- Fight a 2 minute bout at slow speed showing control and flow
